I’ve been growing snow peas for decades. They are so delicious and nutritious. Snow peas, like their relatives, garden peas and sugar snap peas, are legumes and fix nitrogen in the soil. Additionally, snow peas have the most beautiful flowers in multiple shades of pink, purple and blue.
This post contains affiliate links. If you click through a link I may get a small commision at no expense to you. Read my disclosure policy here.
Growing a Beautiful Bounty of Snow Peas
It’s easy to grow snow peas. They are the first vegetable I plant in the garden each spring. Seeds can go in the ground 4 to 8 weeks before your average last frost. Here in zone 6b, I plant on St. Patrick’s Day, March 17.
First, pick a spot for your snow peas that gets plenty of sun – 6 to 8 hours a day. Pea seeds are planted one inch deep and 2 inches apart. Cover with soil and firmly pat it down. Don’t over water before the peas germinate; you don’t want the seeds to rot in the soil.
You may also enjoy these articles: How To Compost, Saving Water in the Garden, and Protecting the Garden from Insect Damage.
Most varieties of snow peas benefit from trellising. My ultra-frugal approach to trellising was to use string at multiple levels wrapped around stakes or sticks. It worked, but made it difficult to find all the snow peas to harvest. Even worse, taller varieties would fall over.
For these reasons, I used t-posts and pre-made trellis netting this year. Not only does it allow my giant snow peas to climb well, it also lets me harvest from both sides of the trellis and not miss any snow peas. This is important because the more you pick, the more they produce! Additionally, I should be able to leave these trellises in place and use them for multiple years.
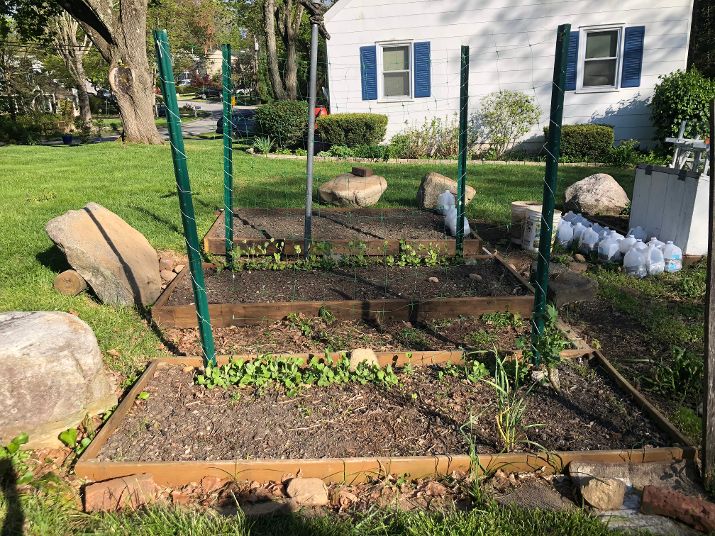
Trellises Put in Before Planting (Growth in Early May) 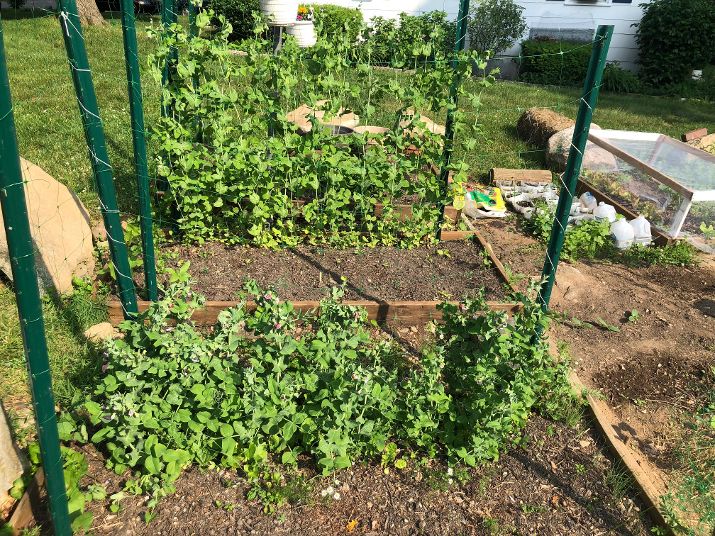
Trellises for Snow Peas 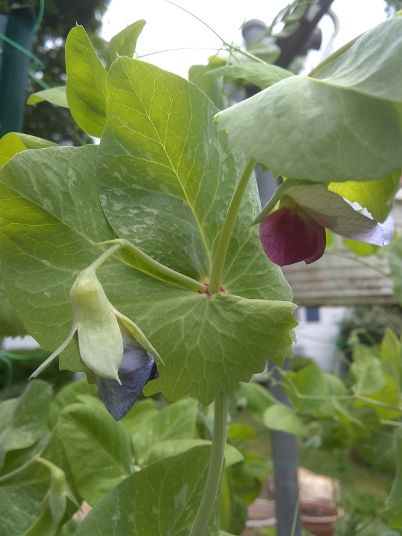
Giant Swiss Snow Pea flowers
If you are growing in a container you’ll need a bush variety such as Dwarf Gray Sugar.
I have grown many different varieties of snow peas over the years and loved them all. This year, I planted Organic Giant Swiss Snow Pea from Fruition Seeds and Beauregarde Purple Snow Peas.
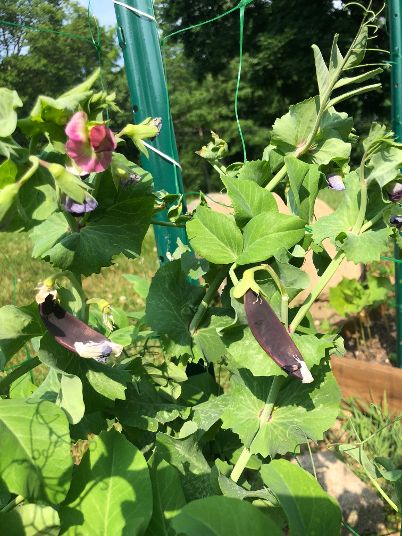
Purple snow peas and Flower 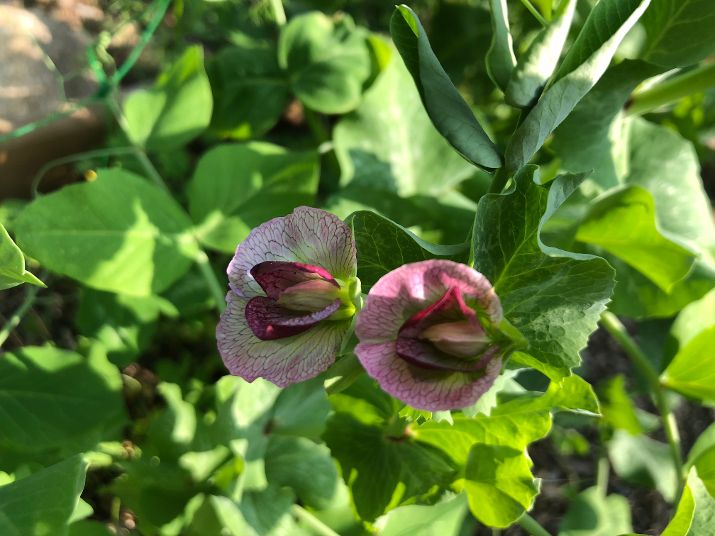
Beauregarde Snow Pea Flowers 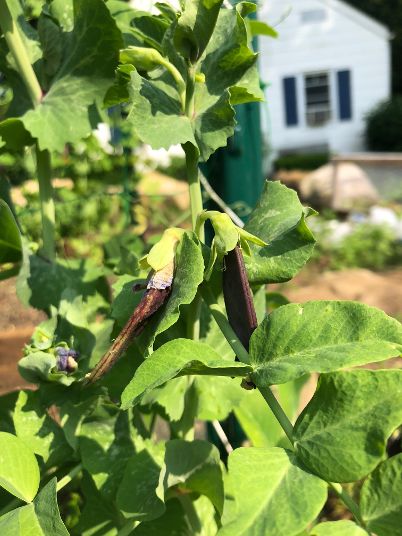
Purple Snow Peas
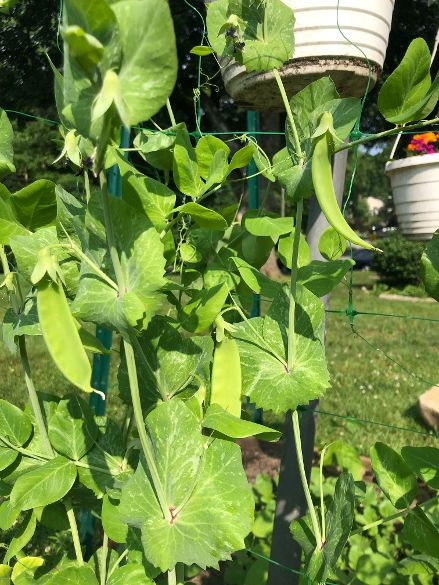
Snow Peas ready to harvest 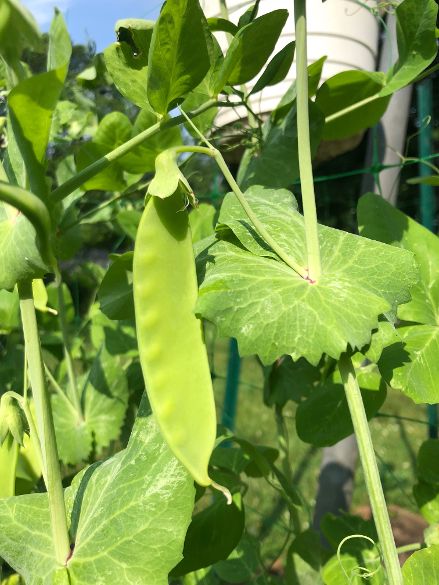
Giant Swiss Snow Pea 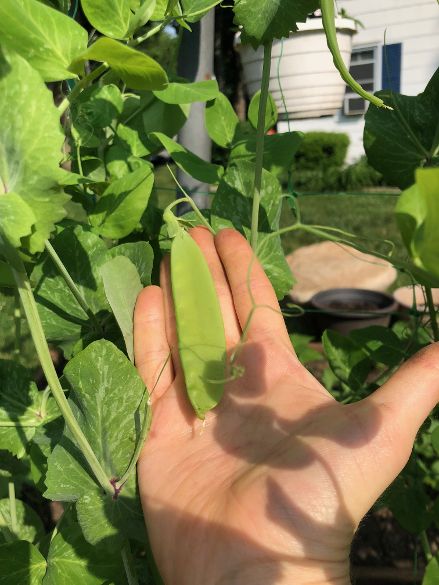
Giant snow pea in hand
Beautiful Bounty: Harvesting Snow Peas
Harvesting can begin as soon as the pea pods are big enough to eat, around 2 to 3 inches long. I let my Giant Snow Peas get at least 4 inches before harvesting. Grasp the snow pea where it is attached to the plant and gently pull up or sideways. You may need to hold the plant just above where you are pulling the pea pod so you don’t pull off half the plant. Plan to harvest snow peas at least every two days to keep them producing and to pick them while they are young and sweet.
Cooking With Snow Peas
I love Chinese cuisine; so much so that I took multiple courses in Chinese cooking offered through a community education program when I was still living in Pennsylvania. I still prepare some of the recipes I learned as is, but I became comfortable enough with the ingredients and sauces to prepare a Chinese style dish with whatever I have on hand. Snow peas in the spring. Zucchini in the summer, Cabbage in the fall.
Snow peas are delicious quickly sautéed in oil, on their own or with some onion or garlic, or with carrot, mushroom, red peppers or other vegetables. A quick splash of soy sauce elevates the flavor.
Snow pea leaves and tendrils are edible. Use them raw in salad, or sauté as you would snow peas.
Raw snow peas are great in salads. You can use them whole or chop them as you prefer.
Or you can challenge yourself and make an authentic Chinese dish like this one from Vivienne Tang, my instructor for those chinese cooking courses!
Bean Sprouts with Shredded Chicken and Snow Pea Pods
Shred 1.5 pounds chicken breast and marinate with ½ T salt, ½ T sherry, 1 egg white and 1 T cornstarch for 20 minutes.
Wash 1 pound bean sprouts, wash and shred ½ pound snow pea pods, removing string if necessary.
Heat 2 T oil in wok. Stir fry bean sprouts for 1 minute, add snow peas and 1 t. salt and stir fry one more minute. Remove from pan.
Heat 2 T oil in wok, add 3 ginger root slices, then chicken and stir fry until full cooked. Add vegetables back in.
Add sauce made of ½ t. salt, 1 t sherry, 1 t sesame oil, 1 t cornstarch and 1 T water. Stir until evenly heated.
My Recipe for Asian Snow Pea Pasta Salad
Yesterday was hot and we wanted a cold pasta salad to go with our dinner. I found a great recipe on pinterest here. But I needed to make so many substitutions, based on what I had in the house, here is the recipe I actually created!
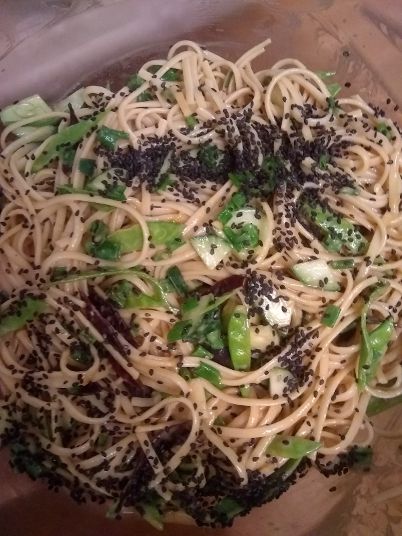
Mix 2 cups of snow peas, whole or chopped, 1 chopped cucumber and scallions to taste (I used onions tops we trimmed) with half pound of cooked, rinsed and drained linguine or spaghetti.
Feel free to mix up the veggies with carrot, peppers, broccoli, squash, etc. The next time I make this, I plan to increase the proportion of vegetables to pasta. If you aren’t a fan of raw vegetables, you can sautee or blanch the snow peas and others as you see fit.
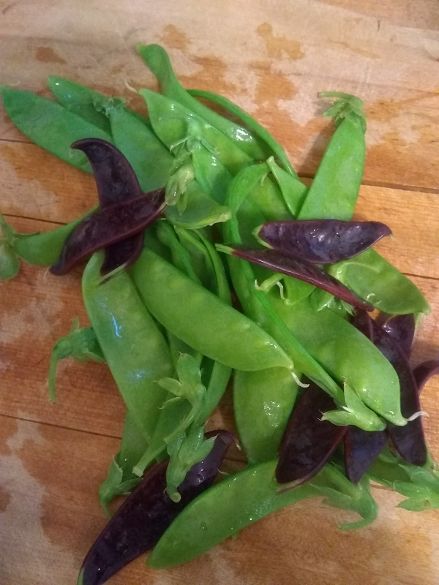
Snow peas from garden 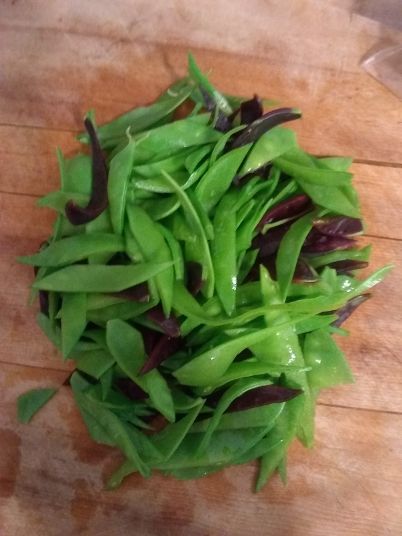
Sliced Snow Peas (2 day harvest) 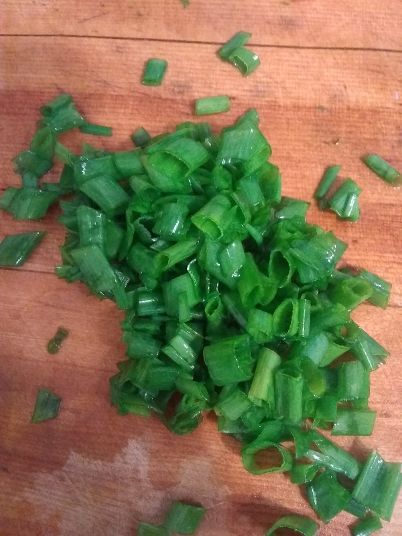
Chopped Onion Tops 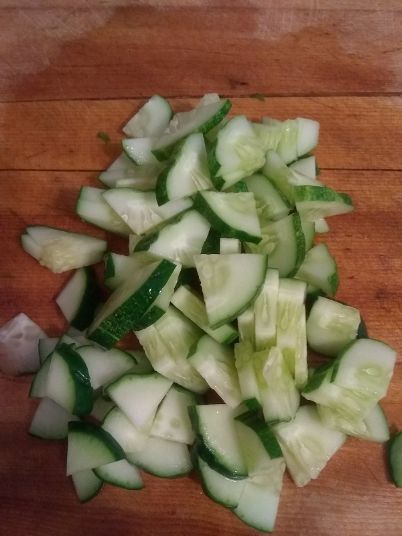
Cucumber (from store, my plants aren’t producing yet) 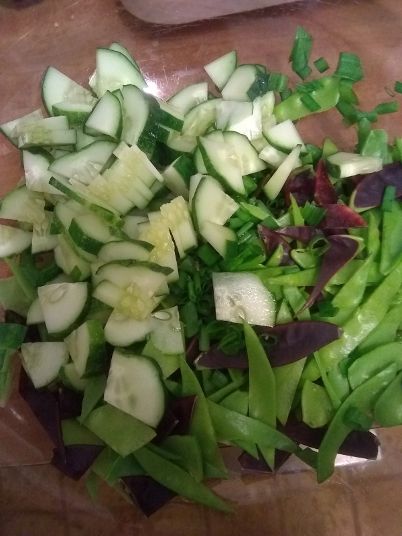
Chopped Veggies for Asian Pasta Salad 
Ingredients for Asian Pasta Salad
In a separate bowl, whisk together the dressing ingredients:
- 1.5 T olive oil
- 2 T dark sesame oil
- 2 T rice wine vinegar
- 3 T soy sauce
- 1 T honey
- 2 cloves garlic, minced or use a garlic press
- 1 T sesame seeds, toasted (see note on toasting below)
- ¼ cup creamy peanut butter
Mix dressing with pasta and vegetable, garnish with more sesame seeds or 1 T chopped cilantro or to taste.
Toasting the sesame seeds brings out their nutty flavor. Just put the seeds on a baking dish, with parchment paper for metal pans, in a 350 to 400 degree oven (I used the toaster oven to save on electric and cut down on heat in the house!) Check on seeds and stir after 5 minutes. Remove when seeds start to get golden.
What has your experience been with growing snow – or any other type of – peas?

Great ideas, Kerry!